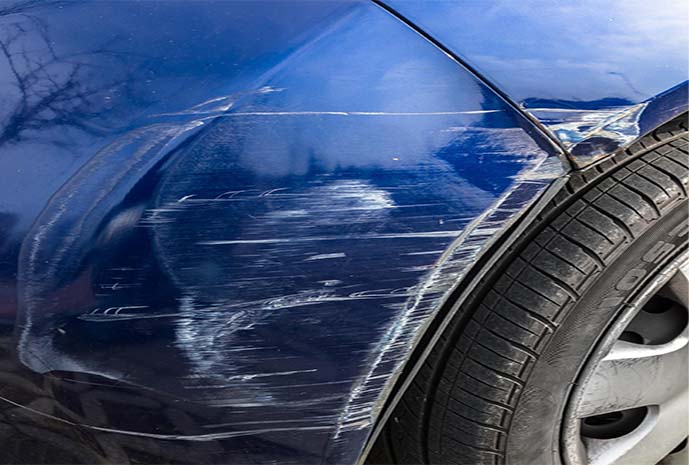
Are you tired of seeing those unsightly scratches on your beloved vehicle? Don't worry, we've got you covered! In this blog post, we'll guide you through the steps to fix those scratches and make your vehicle look brand new again. So grab your tools and let's get started!
Materials you'll need:
- Microfiber cloth
- Car wash soap
- Automotive rubbing compound
- Scratch repair kit
- Clear coat paint
- Polishing compound
Step 1: Clean the scratched area
Begin by washing the scratched area with car wash soap and water to remove any dirt or debris that may be hiding in the scratch. This will ensure a smooth repair process.
Step 2: Assess the depth of the scratch
Use your fingernail to determine the depth of the scratch. If it's just a surface scratch, you can proceed with the repairs. However, if the scratch has penetrated the clear coat and reached the base coat or metal, it may require professional assistance.
Step 3: Apply rubbing compound
Using a clean microfiber cloth, apply a small amount of automotive rubbing compound to the scratch. Gently rub the compound in circular motions, gradually increasing the pressure until the scratch starts to fade away. Make sure to follow the instructions on the compound for best results.
Step 4: Use a scratch repair kit
If the scratch is still noticeable, it's time to bring out the scratch repair kit. These kits typically include a touch-up pen or brush filled with paint that matches your vehicle's color. Carefully apply the paint to the scratch, following the instructions provided. Allow the paint to dry completely before moving on to the next step.
Step 5: Apply clear coat paint
To protect the fresh paint applied in the previous step, use a clear coat paint to seal and give it a glossy finish. Apply the clear coat paint in thin layers, allowing each layer to dry before applying the next. This will ensure a smooth and durable finish.
Step 6: Polish the repaired area
Once the clear coat paint has dried, use a polishing compound to further blend the repaired area with the surrounding paintwork. Apply a small amount of the polish to a clean microfiber cloth and gently rub it onto the repaired area in circular motions. This will help remove any imperfections and bring back the shine.
Step 7: Wax and protect your vehicle
Finish off the repair process by waxing your entire vehicle to provide a protective layer and enhance the overall appearance. Regularly waxing your vehicle will help prevent future scratches and keep it looking shiny and new.
Remember, the process of fixing scratches on your vehicle might take some time and patience. If you're unsure or don't feel confident doing it yourself, it's always best to seek professional help.
With these simple steps, you can say goodbye to those annoying scratches and give your vehicle the love it deserves. Happy repairing!